
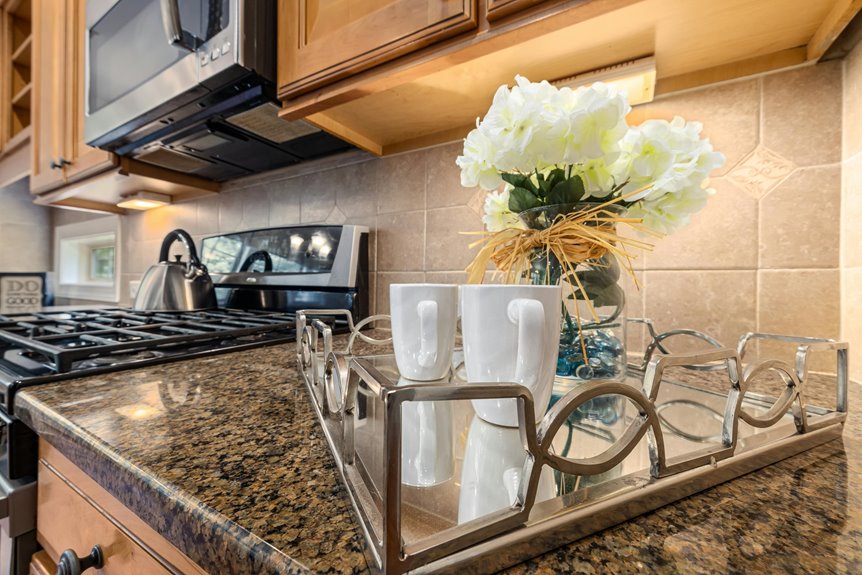
Start by clearing everything off your counters and wiping them clean—this foundation matters. Keep only daily essentials visible, like your coffee maker or toaster, and hide the rest in cabinets or drawers. Use neutral colors (whites, grays, soft beiges) as your base, then layer in accent pieces using decorative trays grouped in threes for balance. Mix textures—smooth marble with warm wood and sleek metal—and add height variation with plants or cookbooks. Rotate seasonal decor monthly to keep things fresh without overwhelming your space. Thoughtful arrangement brings together function and style.
Start With a Clutter-Free Kitchen Counter
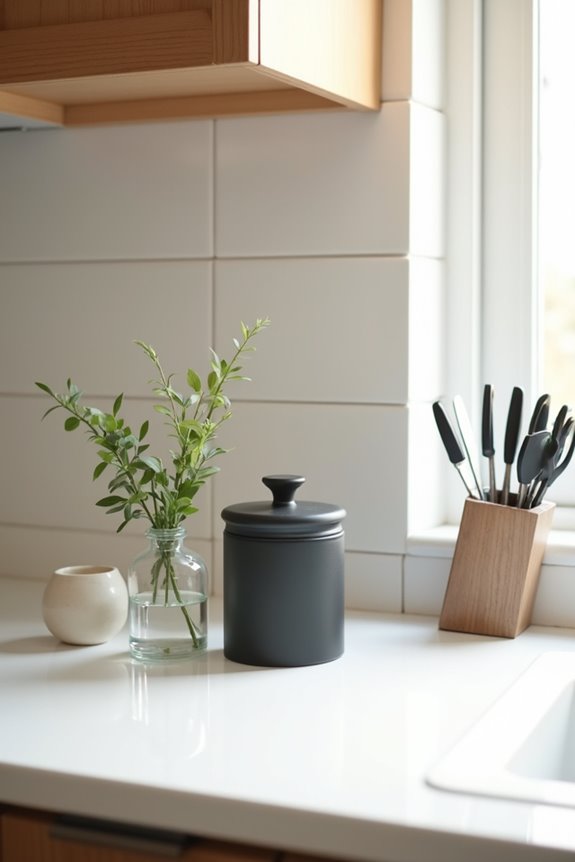
How many times have you opened your kitchen cabinets only to have items tumble out? I’ve been there too. Before decorating your counters, you’ll want to create a truly clutter-free foundation. I start by clearing everything off and wiping surfaces completely—it’s like hitting refresh.
Next, I remove non-daily appliances and store them elsewhere. Then comes my favorite part: using trays and zones. I corral my oils and spices together by the stove, and group sponges near the sink. This countertop organization creates functional spaces without overwhelming your surfaces.
Finally, I keep only everyday essentials visible. Everything else goes into attractive containers in cabinets or pantries. This breathing room makes your kitchen an inviting space where you actually want to cook and spend time together.
Hide Small Appliances to Maximize Space
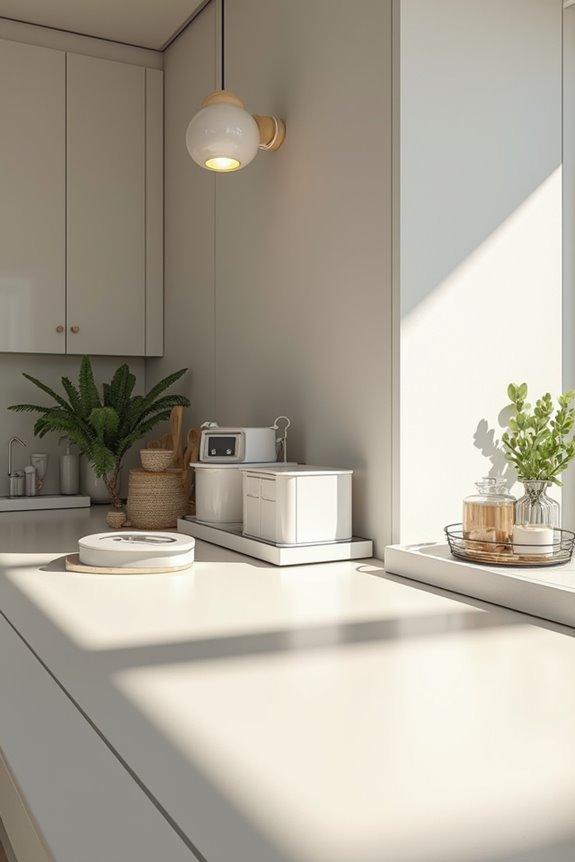
I’ve discovered that keeping every appliance visible on my counter actually takes up the space I need for cooking and decorating. The trick is deciding which appliances I use daily—like my coffee maker or toaster—and which ones can hide away in the pantry, closet, or garage until I need them. By strategically storing bulky items and organizing the ones that stay out, I can make my counter into a functional, beautiful space that actually looks intentional rather than cluttered.
Daily-Use Appliance Strategy
Ever notice how crowded kitchen counters become when every gadget you own takes up prime real estate? Strategic placement helps you work more efficiently.
Keep only your daily-use appliances visible—your coffee maker, toaster, and cutting board stay accessible. Store everything else out of sight. This countertop decluttering approach improves your workspace immediately.
Start by designating a home for each appliance. Your coffee maker needs that outlet near your morning routine spot. Your blender? Store it in the pantry until you need it.
For organized storage, use matching containers that complement your kitchen’s color scheme. This creates visual consistency while keeping bulky gadgets out of sight.
Alternative Storage Solutions
Where do all those small appliances actually go? Hiding them changes how your kitchen looks and functions. You don’t need every device visible to keep your space functional and practical.
Here’s my approach to decluttering:
- Move non-daily-use appliances to your pantry, closet, or garage
- Store your blender and toaster in decorative storage boxes
- Use attractive trays to group remaining items together
- Keep only your stylish coffee maker visible for daily use
This strategy creates more counter space. I now display a beautiful tray holding my essentials rather than scattered gadgets everywhere. The result? My kitchen feels organized and calm. By strategically choosing what stays visible, I’ve maintained accessibility while achieving the clean look I wanted. You can do this too—it’s simpler than you think.
Drawer Organization Methods
Your kitchen drawers are hiding potential—they’re the hidden asset for reclaiming counter real estate. I’ve discovered that smart drawer organization changes how I use my kitchen counters and countertop decor.
Maximize Your Space
I use dividers and drawer inserts to corral utensils efficiently. A knife drawer insert replaces my bulky counter knife block, instantly freeing valuable prep space. I store non-daily appliances—like my food processor or blender—in deep drawers instead of cluttering surfaces.
Keep It Functional
I maintain a clean slate by removing items that don’t belong. My drawers now house only essential tools: spatulas, wooden spoons, and measuring implements. This focused approach to drawer organization means my kitchen counters stay clear for actual cooking and beautiful displays.
When I organized strategically, I reclaimed purpose. You’ll find that deliberate drawer storage creates the breathing room your kitchen needs.
Choose a Color Palette for Your Kitchen Counters
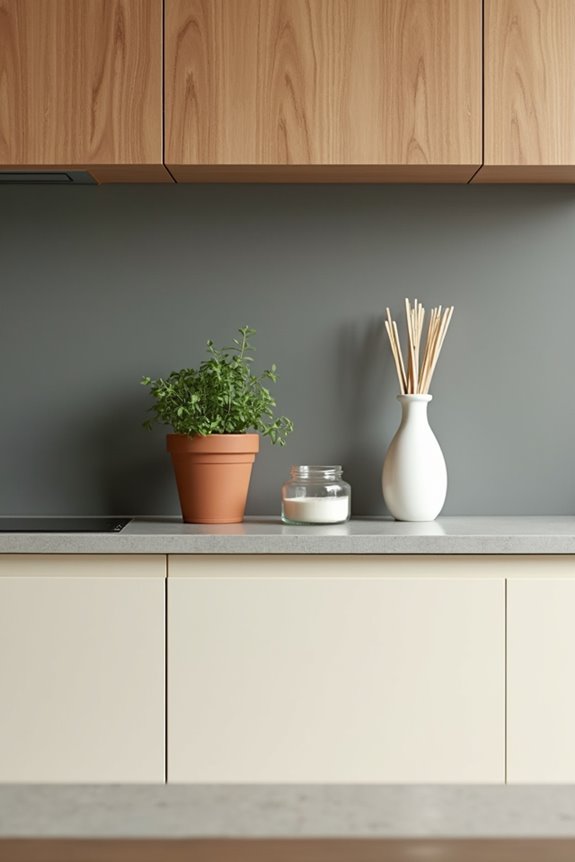
I’ve found that picking the right colors for your countertops makes a difference in how your kitchen feels. You’ll want to start with neutral tones—think whites, grays, or soft beiges—that anchor your space and provide a calm foundation, then layer in accent colors through small decor pieces that tie into your cabinets, backsplash, or flooring. This approach gives you flexibility to refresh your look seasonally without completely redesigning your kitchen every time you want something new.
Neutral Tones and Textures
The foundation of a serene kitchen counter starts with choosing a color palette built on neutrals. I’ve found that creams, whites, and beiges create a calm backdrop that doesn’t compete for attention. Here’s how I make my countertop decor work together:
- Select light or white storage containers to maintain brightness and cleanliness
- Mix matte and glossy textures for subtle visual interest without overwhelm
- Pair neutral surfaces with textured elements like marble, wood, or stone
- Limit accent colors to two or three complementary tones maximum
This approach creates a space you’ll actually enjoy spending time in. The textures provide warmth while keeping everything cohesive. I occasionally rotate a seasonal accent—say, fresh greenery or a small pumpkin—to refresh things without disrupting that peaceful feeling. Your kitchen becomes distinctly yours while staying beautifully balanced.
Accent Colors and Decor
Once you’ve established that calm neutral base, it’s time to layer in color thoughtfully—and that’s where things get fun.
I recommend choosing a cohesive palette that echoes your backsplash or cabinets. This approach ties your counter decor together naturally. Pick 2–3 accent colors maximum—anything more feels chaotic.
Here’s my strategy: introduce color through specific items. I place one colorful canister, a small vase, or a decorative bowl where I’ll see it daily. This gives you that personal touch without overwhelming your space.
Mix metals intentionally too. If your hardware is matte black, I’d choose brushed nickel accents elsewhere. This coordination creates sophistication.
Finally, rotate seasonal touches—fresh lemons in spring, pumpkins in fall. These subtle shifts keep your kitchen feeling purposeful and connected to the seasons around you.
Use Decorative Trays to Organize and Style
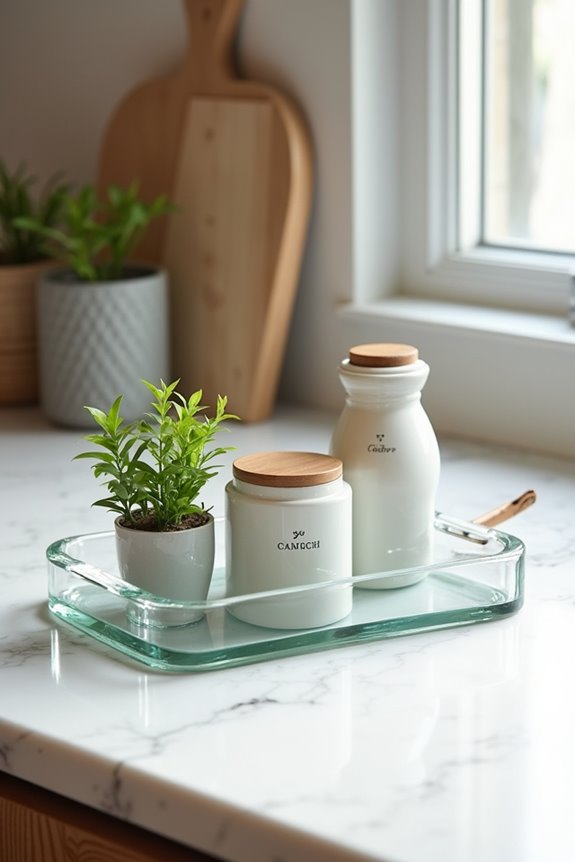
How do you turn a cluttered countertop into something organized and visually coherent? Decorative trays are a practical solution. Trays anchor counter decor while keeping everyday items organized and accessible.
Here’s how to use trays for better counter organization:
- Corral daily essentials – Group sugar, coffee, and utensils in stylish jars on a single tray
- Choose your shape wisely – Round trays soften the space; rectangular ones add structure
- Select materials that match – Wood, marble, or metal trays complement your countertop
- Layer thoughtfully – Pair trays with organizers and canisters for visual flow
This organization method combines aesthetics with functionality. Instead of scattered items creating visual clutter, everything stays organized and deliberate. You get both style and practicality—trays make this balance possible.
Add Height and Dimension With Layered Pieces
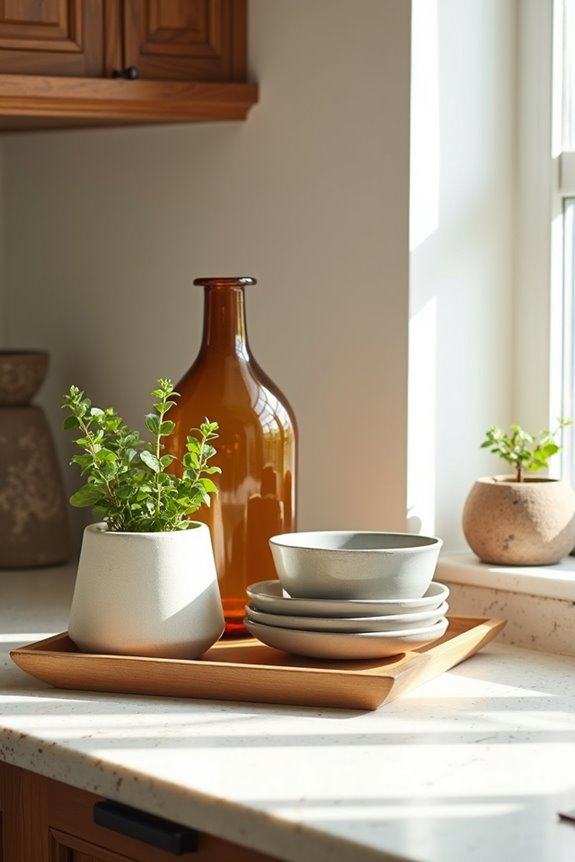
Why do some counters look organized and thoughtful while others appear flat and one-dimensional? The answer lies in layered display. Mixing heights across your kitchen counter creates visual depth.
I arrange taller elements—like upright cookbooks or vases—as anchors, then fill middle tiers with medium pieces, and ground everything with shorter items. This vertical decor strategy adds depth without consuming precious counter space.
| Height Level | Example Items | Purpose |
|---|---|---|
| Tall (10-14″) | Cookbooks, vases | Visual anchors |
| Medium (5-9″) | Utensil holders, plants | Bridge elements |
| Short (2-4″) | Small bowls, candles | Ground layer |
The progression feels natural and works with your space’s layout. I avoid overcrowding by spacing pieces with intention. When counter height displays balance function with style, your kitchen reflects the organized home you’re building—one layer at a time.
Store Daily Essentials in Stylish Containers
After you’ve arranged your counter with layered pieces, it’s time to tackle what actually sits on those surfaces—and that’s where containers become useful. I’ve found that decor containers help organize cluttered countertops into displays that look organized and calm.
Here’s how I organize mine:
- Decant pasta, rice, and nuts into matching glass jars for a unified look
- Use cohesive canisters for flour, sugar, and coffee to establish visual harmony
- Choose containers that complement your countertop’s color—wood, marble, or metal accents
- Group everyday essentials on a tray near the stove for designated zones
These countertop organization choices keep sponges, brushes, and spices tidy while maintaining that streamlined aesthetic. When you invest in practical, easy-to-clean containers, you’re not just organizing—you’re creating spaces that work for how you live.
Group Accessories in Threes for Better Balance
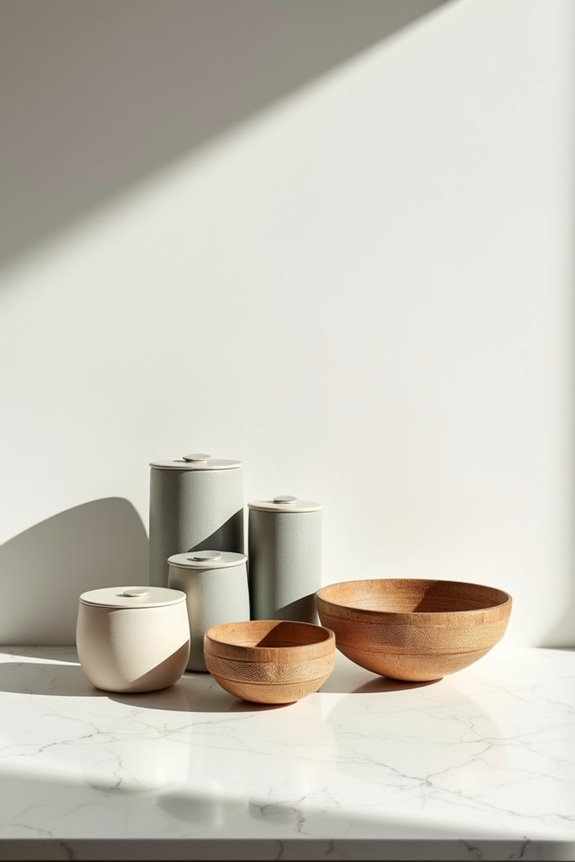
I’ve discovered that grouping kitchen accessories in threes creates a polished look, and it’s easier than scattering random items across your counters. This simple technique—called the rule of three—works because our eyes naturally find odd-numbered arrangements more satisfying and balanced than even ones. By pairing a tall element like a cookbook with medium and shorter pieces, you’ll build depth that makes even a small countertop feel styled rather than cluttered.
The Rule Of Three
Three items arranged thoughtfully beat ten scattered around every time. I’ve learned that the Rule of 3 brings balance and intention to any counter vignette.
When styling your kitchen, follow these guidelines:
- Choose a tray or board as your anchor to ground the grouping
- Vary heights deliberately—pair a tall candle with a mid-height plant and low bowl
- Mix texture variety—combine smooth ceramic, woven elements, and glass
- Allow breathing room—space prevents that cluttered feeling
This approach feels manageable because you’re not overthinking placement. Three items create visual interest without chaos. I find that contrasting colors and materials within your trio makes the whole display look deliberate rather than random. You’ll notice your counters feel more considered, more like *you*—and that’s what truly belongs in your space.
Creating Visual Balance
When you’re arranging kitchen counters, odd numbers create balance—and three’s the perfect starting point. Three-item groupings create counter vignettes that look deliberate rather than haphazard. Here’s what brings order to a cluttered surface.
You’ll want to combine heights strategically: pair a tall element like a cookbook or vase with a mid-height basket, then anchor everything with a low tray. This layering prevents that flat, monotonous appearance.
Stick to 2–3 colors within each trio so your groupings work with your kitchen’s palette. When you limit each counter section to three distinct items, you’re actually creating breathing room while keeping visual interest.
The result? A thoughtfully arranged look that reflects your preferences, not overdone.
Bring Plants and Greenery to Your Counters
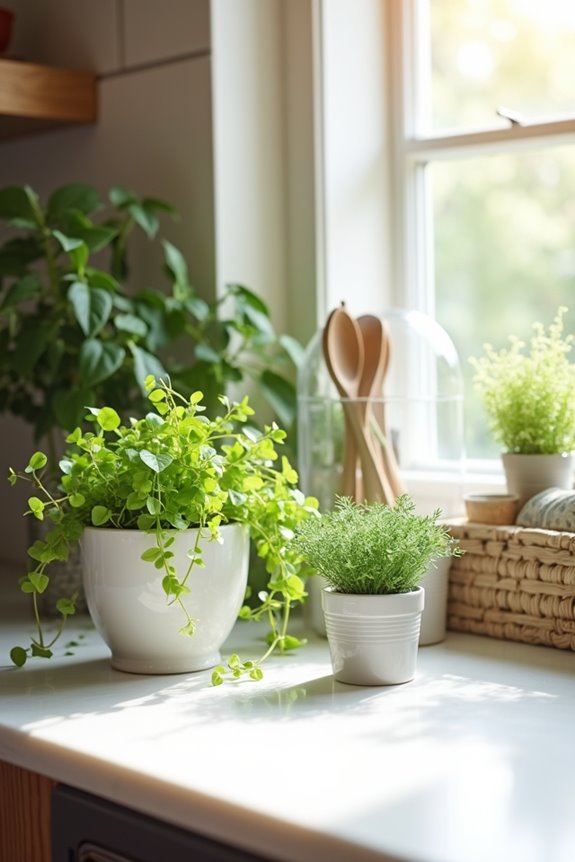
Why do kitchens with plants always feel more welcoming? I’ve found that greenery changes bland countertops into spaces that actually make me want to spend time cooking. The beauty is you don’t need much space or expertise to create this effect.
Greenery transforms bland countertops into welcoming spaces that make you actually want to spend time cooking.
Consider these counter decor options:
- Fresh herb gardens like basil and rosemary that serve double duty as ingredients and decoration
- Automated countertop planters that provide year-round greenery without floor space requirements
- Layered heights with small potted plants at eye level for dimensional styling
- Faux greenery alternatives when real plants feel too demanding
I pair my plants with existing color palettes and materials so they complement rather than overwhelm. Whether you choose real or low-maintenance faux options, greenery makes kitchens feel like lived-in spaces worth sharing.
Combine Different Textures for Visual Interest
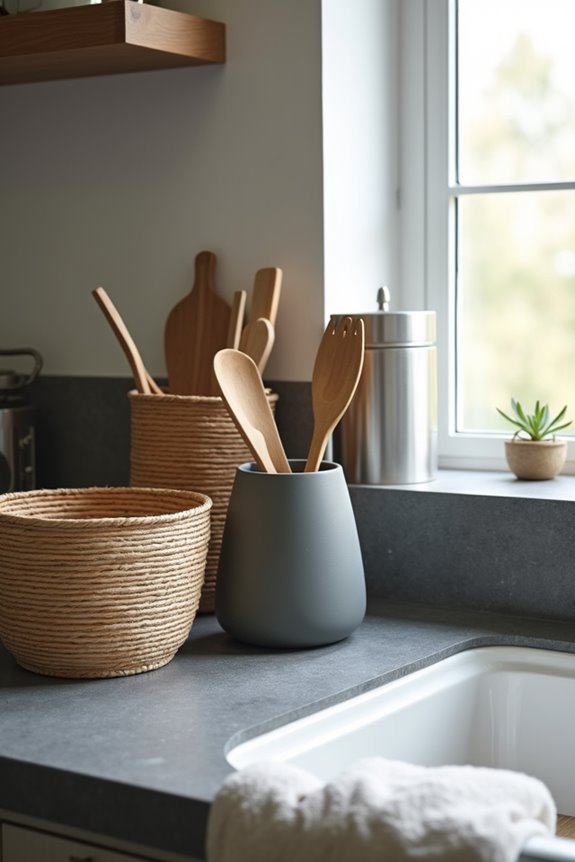
I’ve found that mixing textures on your kitchen counters makes them more visually interesting. When you combine materials like smooth marble canisters with warm wooden trays or sleek metal utensil holders, you create visual depth that draws attention. The key is keeping it intentional—I stick to just two or three textures per counter group so everything feels organized rather than chaotic.
Layering Materials and Finishes
To create a kitchen counter with visual interest and depth, mix different textures and finishes together. Combining materials like wood, marble, and metal creates a layered appearance.
Here’s how to layer materials effectively:
- Pair matte wood with glossy metal and smooth glass for visual contrast
- Balance tall utensil holders with low canisters to create vertical interest
- Use acacia wood trays beside marble canisters for coordinated styling
- Keep all pieces connected through shared design elements, like natural wood tones or consistent metal finishes
The key is avoiding clashing by keeping texture variety intentional. When you layer thoughtfully, your counters feel polished and coordinated rather than cluttered. You’re creating a space that reflects your personal style while maintaining functionality.
Creating Depth Through Variety
How do you keep kitchen counters from looking flat and boring? I’ve found that mixing textures creates the visual interest you’re craving. Try pairing wood trays with marble canisters and metal utensil holders—this contrast makes your counter feel intentional rather than random.
I arrange different shapes and materials at varying heights. Round wooden trays sit beside oval acacia boards, while vertical holders add dimension. This layering prevents that crowded, one-dimensional look.
The key? Stick to 2–3 colors maximum. When I combine matte wood, smooth glass, and woven fibers in a cohesive palette, the textures read as thoughtful design instead of clutter. That’s how you build depth without overwhelming your space—and honestly, it’s easier than you’d think.
Create a Coffee or Beverage Station
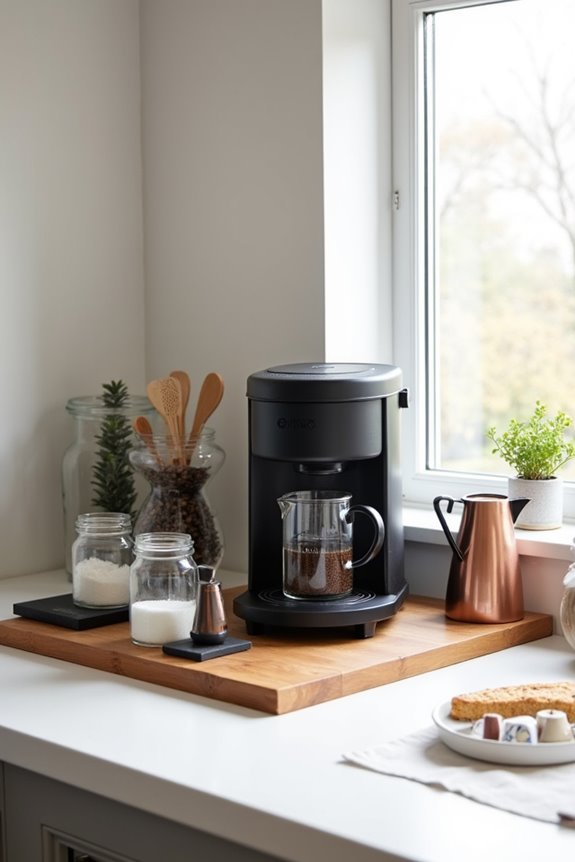
Why do we let our favorite mugs scatter across different cabinets when they could work together as a stylish, functional display?
A coffee station makes my kitchen counter an organized hub. Here’s what I’ve incorporated:
- Grouped essentials on trays – Coffee, tea, and sparkling water containers clustered together create order
- Displayed mugs strategically – Using a utensil crock or mug rack keeps favorites visible and accessible
- Staggered heights – A cookbook stand beside my coffee station adds visual interest
- Minimal accessories – A small plant and decorative bowl personalize without overcrowding
I’ve learned that functional decor matters. Stylish canisters for sugar and matching jar sets serve double duty—they’re beautiful and practical. This purposeful arrangement makes my morning ritual smoother while inviting guests to grab what they need. My counter now reflects my preferences without feeling cluttered.
Add a Statement Centerpiece or Focal Point
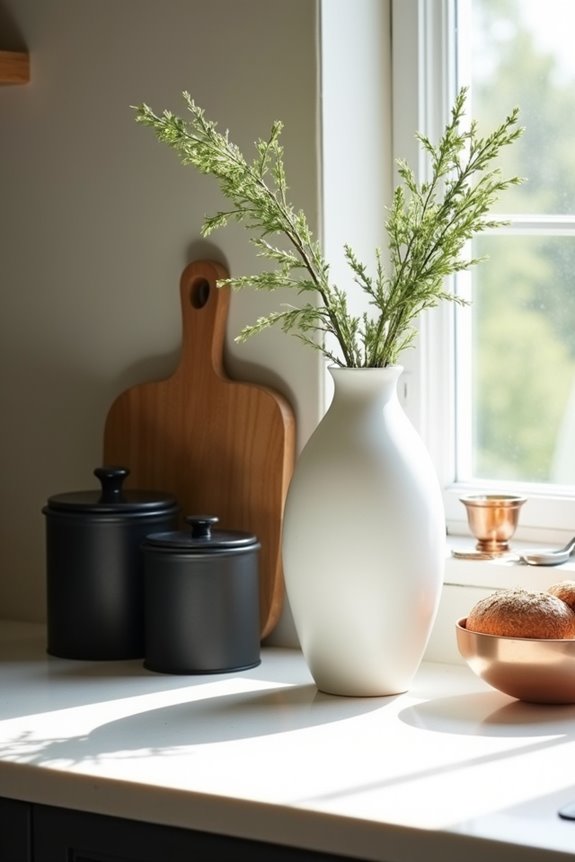
After organizing my coffee station, I realized my counter still needed something that’d catch the eye—a single, striking piece that anchors the entire space. One strong focal point brings order and intention to your countertop decor instead of leaving it scattered.
My statement centerpiece works best when it suits your taste. I chose a ceramic fruit bowl, though an antique sculpture or sculptural vase works equally well. The key? Selecting one bold item that doesn’t overwhelm functional zones.
I layer height variation around my focal point using taller vases or stacked books, which draws the eye and adds depth. When I place my centerpiece on neutral counters, it commands attention. This approach creates a vignette that makes my kitchen feel purposefully designed rather than randomly decorated.
Use Wall Space and Vertical Storage
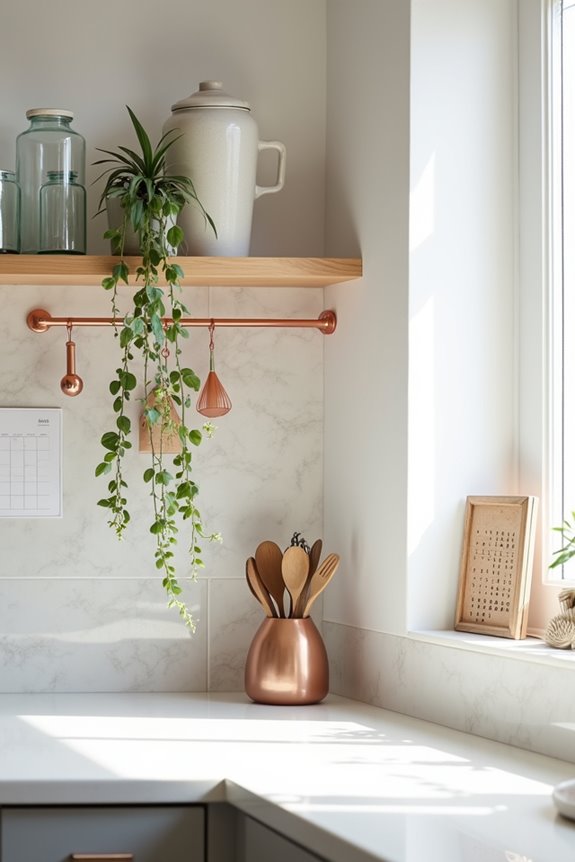
While my statement centerpiece anchors the counter beautifully, I’ve discovered that the real solution for keeping surfaces clear is looking up. Wall space and vertical storage help me organize my kitchen without sacrificing counter decor appeal.
Here’s what I’ve implemented:
- Mounted magnetic knife rails above my prep area for slim, modern storage
- Installed wall-mounted pot racks integrated with my backsplash for functional décor
- Added copper rails under shelves to store frequently used items within reach
- Positioned tall vertical pieces that break horizontal lines and add visual interest
These solutions freed my counters while keeping essentials accessible. Copper and Emery-style racks coordinate beautifully with other wall-mounted accessories. I’ve learned that vertical storage isn’t just practical—it’s decorative as well. Now my kitchen feels organized and uncluttered, creating the space I wanted all along.
Switch Up Your Kitchen Counter Decor Seasonally
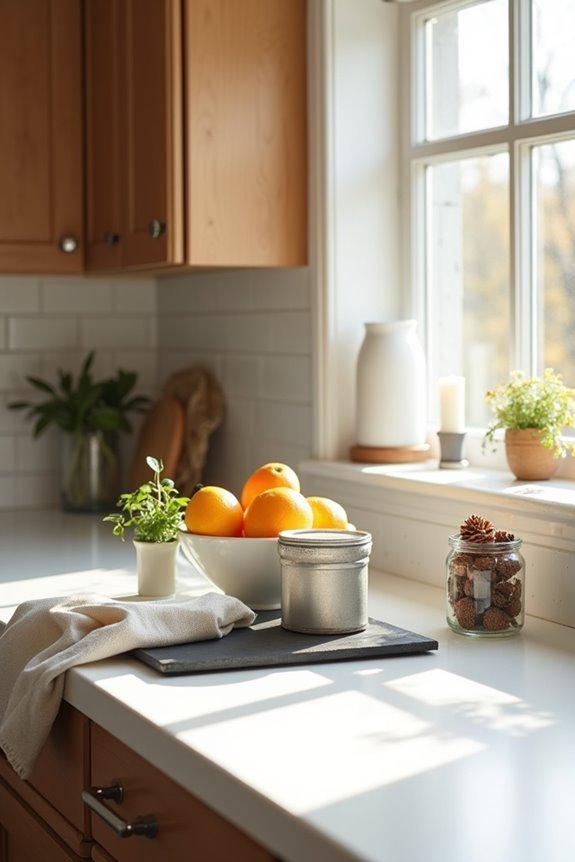
How often do you notice your kitchen looking a bit tired halfway through the year? Rotating seasonal decor brings new life into the space without requiring a complete redesign.
Focus on switching one vignette per counter, which keeps things cohesive while introducing seasonal elements. Fall pumpkins, winter greenery, and spring flowers each get their moment to shine. The key is limiting updates to a single element—perhaps a seasonally inspired tray or bowl—to avoid clutter.
Pair these seasonal pieces with neutral backdrops so they stand out. Using seasonally infused colors and textures creates visual harmony in your kitchen. This approach maintains practicality while keeping your counters feeling current throughout the year.
Edit and Refine Your Final Counter Look
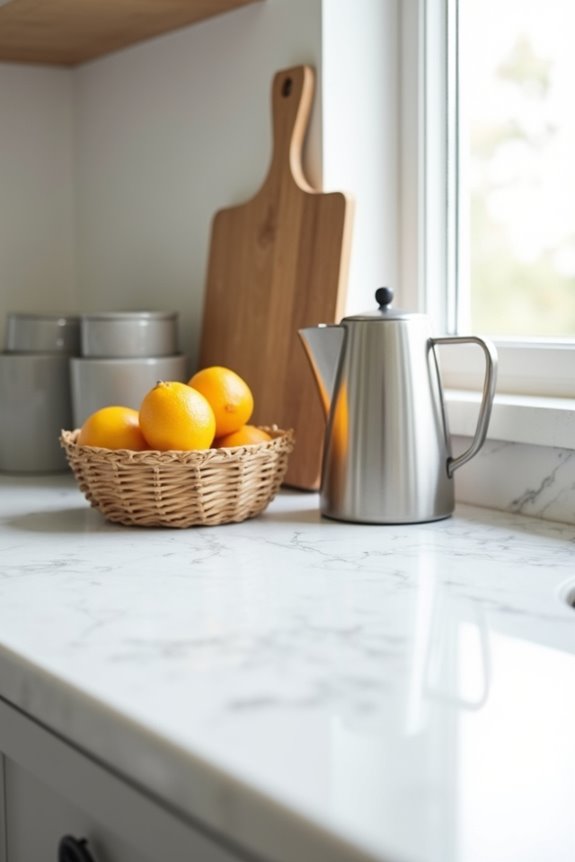
Once you’ve added seasonal touches and meaningful pieces, it’s time to pare down and polish what you’ve got.
I’ve learned that refinement means making tough choices about what truly serves you. Here’s how I approach my final counter look:
- Remove items you don’t use daily—they’re just taking up valuable space
- Group similar items on trays to create visual cohesion and organization
- Keep only three to five decorative pieces to avoid overwhelming the eye
- Step back and assess the overall balance before declaring it complete
Counter organization isn’t about perfection; it’s about creating a functional space that works for your needs. When I use trays to corral oils, sponges, or containers, my kitchen feels more organized and calm. If something doesn’t serve a purpose or bring you satisfaction, it doesn’t belong. You’re building a counter that suits your life and your preferences.