
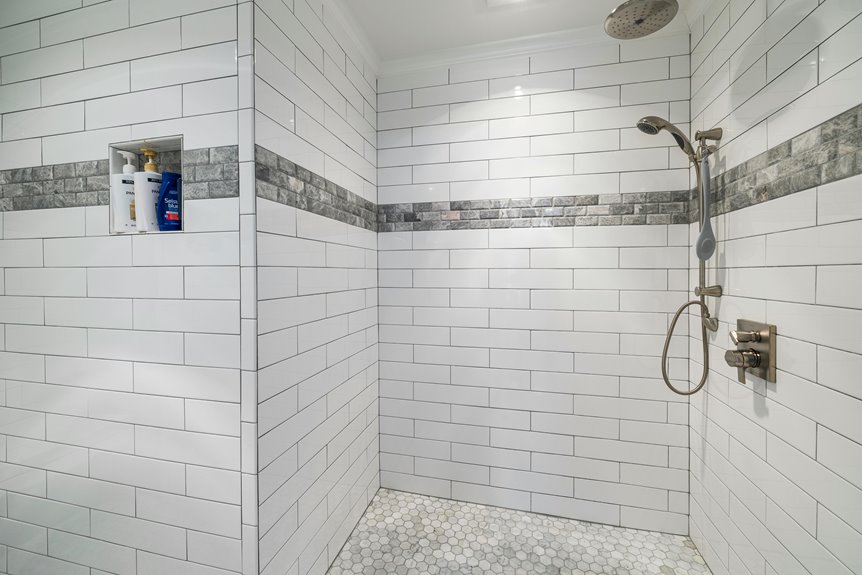
You *can* use decorator’s caulk in bathrooms, but honestly, it’s risky. While it dries faster and paints easily, it lacks the moisture resistance silicone sealants offer. Decorator’s caulk absorbs water, inviting mold growth around tubs and tiles—forcing you to recaulk yearly. Save it for dry areas like skirting boards instead.
Reserve silicone sealants like MAPESIL for wet zones where durability matters. The right product choice prevents water damage and frustration. Knowing when each works best improves your bathroom maintenance routine.
What Is Decorators Caulk vs. Silicone Sealant?
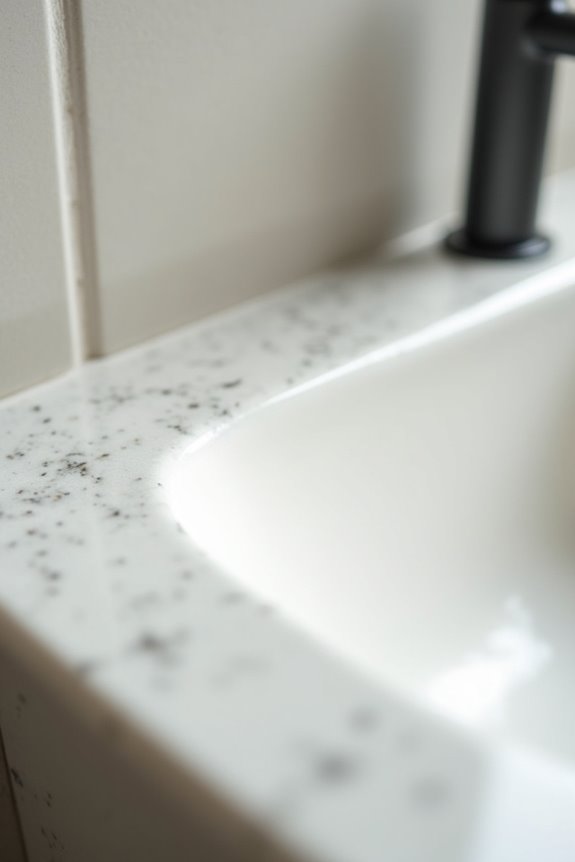
Why do bathrooms need different caulking products than other rooms in your house? The answer lies in moisture. Bathrooms aren’t like your living room—they’re steamy, wet environments that demand serious protection.
Decorator’s caulk is a flexible acrylic filler that works well for gaps between skirting boards and walls elsewhere in your home. You can paint it after it dries, which is convenient. However, it’s less flexible than silicone sealant and lacks the moisture resistance bathrooms require.
Silicone sealant, on the other hand, is specifically engineered for damp spaces. It resists moisture better and handles the constant temperature and humidity changes bathrooms experience. For bathrooms, silicone’s superior durability makes it the better choice. Decorator’s caulk simply can’t compete in these demanding conditions.
Why Bathrooms Demand Moisture-Resistant Sealants
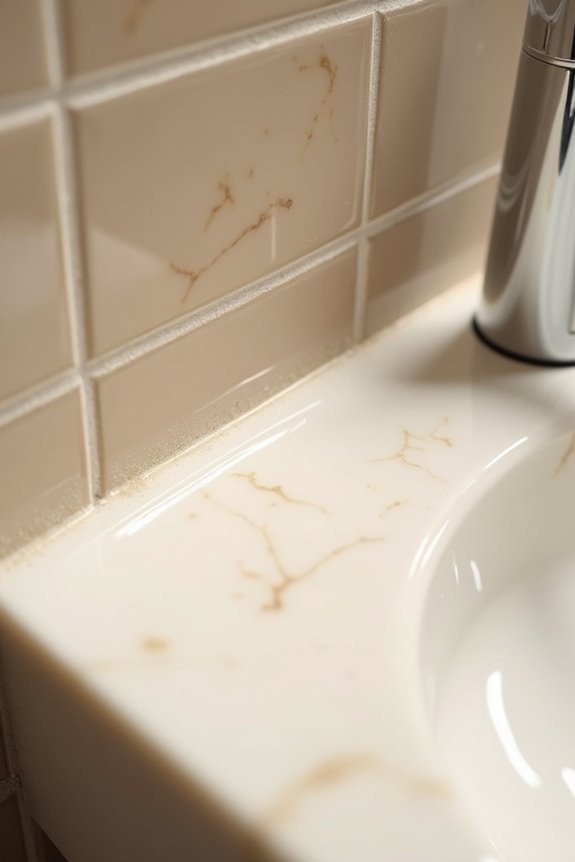
How quickly does mold creep into bathroom corners sealed with the wrong caulk? Within weeks, moisture penetrates non-rated materials, creating conditions where mold thrives.
I’ve learned that bathrooms are hostile environments for standard decorators caulk. Constant water exposure and humidity break down inferior sealants, compromising your bathroom’s integrity. That’s where moisture resistance becomes important.
| Challenge | Decorators Caulk | Silicone Sealant |
|---|---|---|
| Water Resistance | Poor | Excellent |
| Mold Prevention | Minimal | Superior |
| Flexibility | Limited | High |
| Lifespan | 2-3 years | 10+ years |
A quality silicone sealant creates a protective barrier that repels water rather than absorbing it. This bathroom mold prevention strategy keeps moisture from seeping into gaps where it damages walls and promotes fungal growth. I’d recommend investing in moisture-resistant products—your bathroom’s longevity depends on it.
Can You Use Decorators Caulk in Bathrooms? The Honest Answer
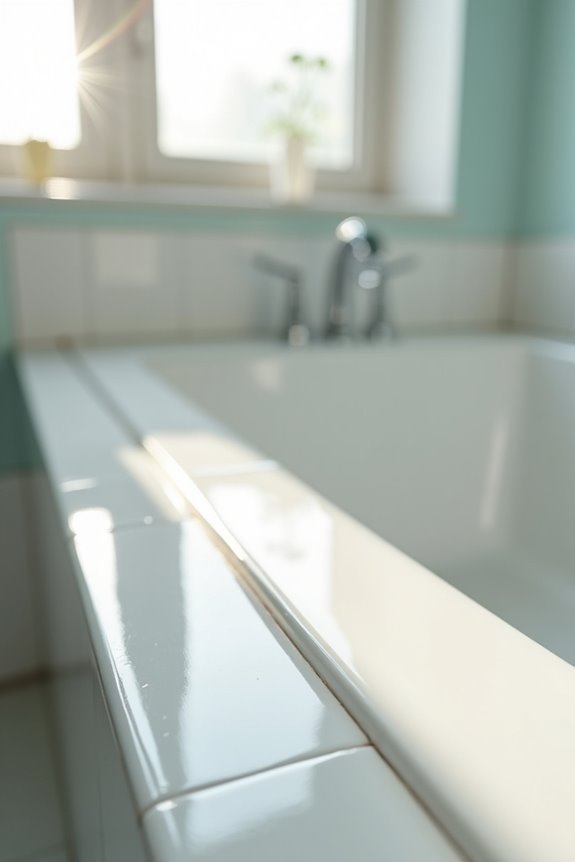
When I tested it in bathroom gaps, I noticed it cracked within months from constant moisture and movement. Silicone sealant, by contrast, stays flexible and watertight for years. The difference is significant.
I recommend reserving decorators caulk for your bathroom’s dry areas—perhaps where walls meet cabinets away from water exposure. For actual bathroom gaps around fixtures, invest in quality silicone sealant instead. You’ll avoid frequent reapplication and costly water damage later. The right product saves time and frustration.
The Real Risks: Mold, Adhesion, and Paint Failure
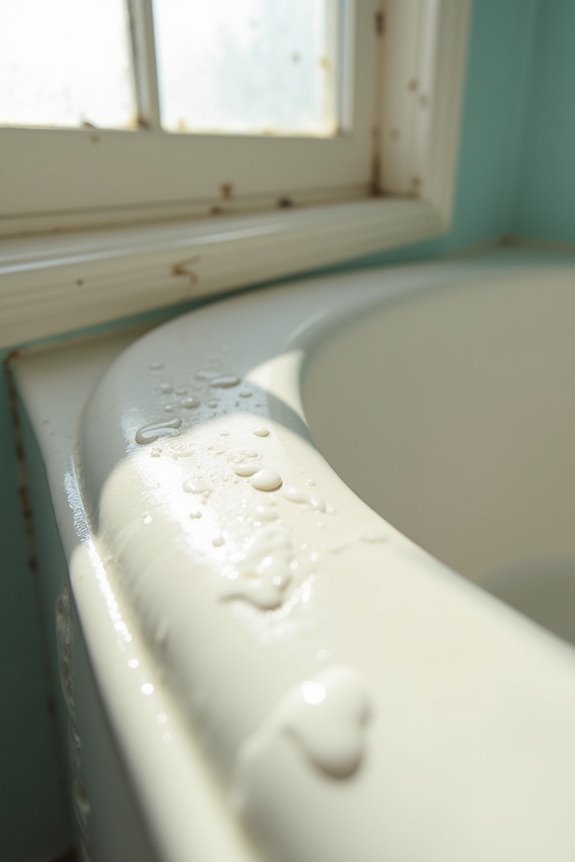
What separates a decent bathroom seal from a failing one often comes down to three interconnected problems: mold creeping into gaps, caulk that won’t stick properly, and paint peeling away weeks after application.
Decorators caulk struggles with mold resistance in humid bathrooms. Unlike silicone sealants designed specifically for moisture, standard caulk absorbs water and creates ideal conditions for mold growth. You’ll notice black spots appearing within months—frustrating when you’ve invested time in the job.
Standard caulk absorbs water in humid bathrooms, creating ideal conditions for mold growth within months.
Adhesion failure happens when moisture gets trapped behind inadequately flexible caulk. It shrinks and pulls away from surfaces, creating gaps where water infiltrates. Paint applied over compromised caulk peels prematurely because the foundation is unstable.
That’s why I recommend using quality silicone sealants instead. They expand and contract with humidity, resisting both mold and failure.
When Decorators Caulk Can Actually Work in Bathrooms
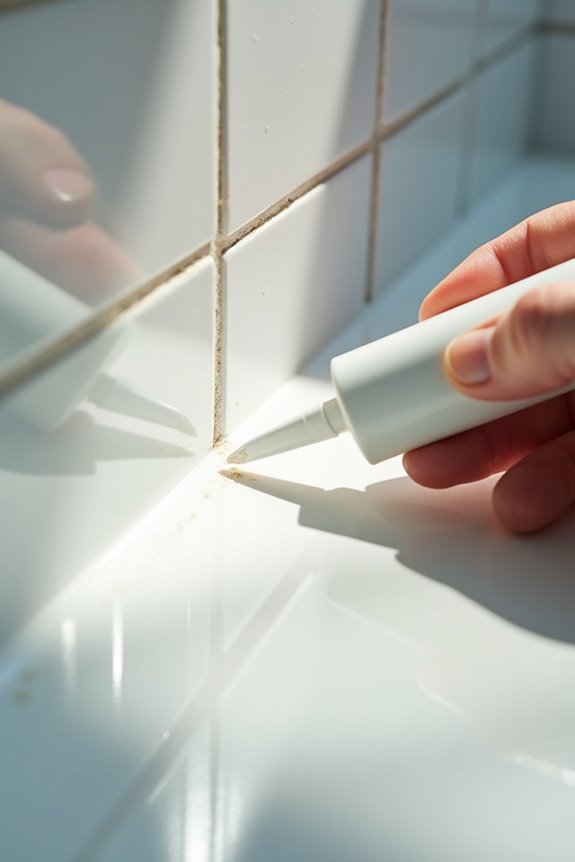
Decorators caulk isn’t automatically off-limits in bathrooms—it’s just about knowing where it belongs. This flexible acrylic filler works for specific low-moisture situations where silicone sealants feel like overkill.
| Location | Works? | Why | Better Alternative |
|---|---|---|---|
| Around bathtubs | No | Poor moisture resistance | Silicone sanitary sealant |
| Between tiles and walls (wet areas) | No | Inadequate humidity protection | Silicone sealant |
| Gaps between skirting boards | Yes | Low movement, minimal moisture | Decorators caulk |
| Non-wet corner gaps | Yes | Protected from direct water | Decorators caulk |
The key is recognizing that decorators caulk works best in low-movement gaps away from constant moisture exposure. It performs well for skirting board gaps and protected corners. However, around baths and tiles where moisture is constant, silicone’s superior waterproofing makes it the logical choice. Know exactly which product protects your bathroom best.
How to Apply Decorators Caulk in Bathrooms
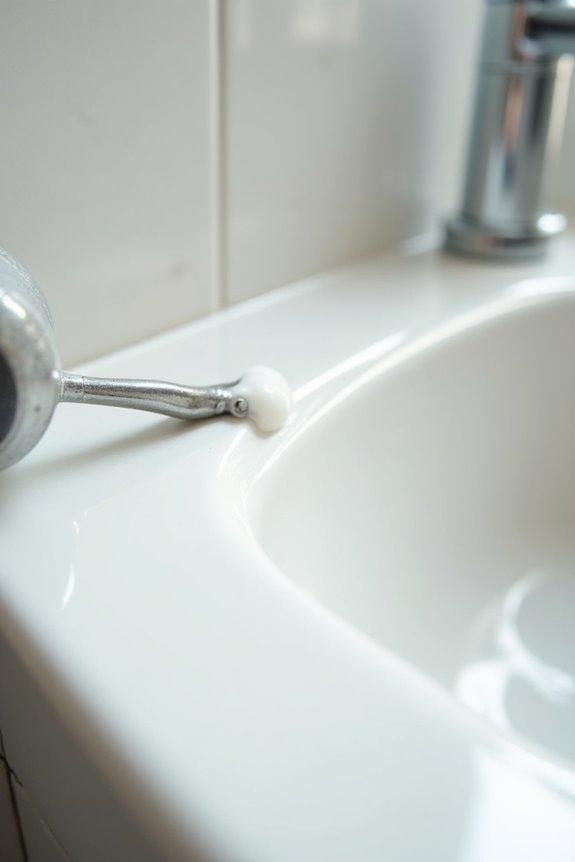
If you’ve decided decorators caulk is right for your bathroom gap, getting the application right is important—and I’ve learned this the hard way after a few messy attempts. I’ll walk you through the three essentials: prepping your surface so the caulk actually sticks, applying it properly with the right tools, and knowing how long to wait before you can paint over it for a polished look. Nailing these steps means you’ll avoid the frustration of caulk that peels or cracks within a few months.
Preparation and Surface Cleaning
Preparation and Surface Cleaning
Before you even think about squeezing that caulking gun, the surface you’re working with needs serious attention. I’ve learned this the hard way—skipping preparation means your decorators caulk won’t stick properly, and you’ll end up redoing the work.
Start by removing dust and debris from the gap between your skirting board and plaster wall. Use a vacuum with a brush attachment, then wipe the area with a damp cloth. Let it dry completely—moisture will compromise adhesion.
Check for old caulk or paint flakes. Scrape these away with a putty knife. You want a clean surface for your decorators caulk to grip onto. This preparation step takes minutes but prevents problems later. Proper surface cleaning directly determines whether your project succeeds or fails.
Application Technique and Tools
Now that your bathroom surfaces are prepped and dry, you’re ready to load up the caulking gun and apply the decorators caulk.
Cut the caulk tube’s nozzle at a 45-degree angle, creating a small opening that matches your gap width. Load it into your gun and apply a steady, even bead along the entire gap. Work methodically—consistency matters here.
Once applied, smooth the caulk immediately using a wet finger or masking tape for crisp edges. Press it firmly into the gap so it bonds properly. In moisture-prone areas like around your shower, this application technique determines how well your decorators caulk performs long-term.
Reapply if gaps sink after initial curing.
Drying Time and Painting Over
How long should you actually wait before painting that caulk? Decorator’s caulk drying time typically runs 1–2 hours before you can paint. However, I recommend waiting the full 24 hours for complete cure—it’s worth the patience.
Painting too soon causes paint craze and poor adhesion. The paintability after cure improves dramatically when you let it fully set. Different caulk types affect timing, so check your product label.
For bathrooms specifically, silicone sealant durability matters. I’ve seen older caulk crack from moisture exposure when rushed application skipped proper curing. Allow 24 hours for professional results and to avoid having to redo the job later.
Cure Time, Paint, and Moisture: Getting It Right
I’ve learned that decorator’s caulk needs about 1–2 hours to cure before you can paint over it, though waiting the full 24 hours produces better results. Here’s the catch: while it’s paintable, decorator’s caulk isn’t your best choice for bathrooms because it’s less water-resistant than silicone sealant and can struggle when moisture and joint movement team up against it. I’d recommend using silicone sealant instead if your bathroom gets heavy moisture, since it’ll actually withstand the humidity and won’t crack or fail prematurely the way flexible caulk sometimes does.
Moisture Resistance And Durability
While decorator’s caulk might seem like a convenient all-purpose solution, its moisture resistance—or lack thereof—is where things get tricky in bathrooms. Here’s what I’ve learned: decorator’s caulk is fundamentally less water-resistant than silicone sealants, making it vulnerable in high-moisture environments like shower surrounds and tub areas.
The durability issue becomes clear over time. When bathroom moisture constantly challenges your caulk, it deteriorates faster, potentially compromising your seal. You’ll notice water seeping into gaps where the caulk’s failed.
For lasting results, I’d recommend silicone sealants specifically designed for bathrooms. They outperform decorator’s caulk significantly in moisture-prone spaces. If you’re committed to using decorator’s caulk, choose moisture-resistant formulations and accept that you’re sacrificing long-term durability for short-term convenience.
Painting Over Curing Times
When’s the right moment to grab your paintbrush after applying decorator’s caulk? Here’s what I’ve learned: decorators caulk typically dries within 1–2 hours, but don’t rush it. You can technically paint over caulk after surface drying, yet waiting the full 24 hours gives you better results.
Why the patience matters: painting too soon causes paint craze or poor adhesion. Temperature and humidity affect your drying time notably—high moisture extends the process beyond nominal estimates.
My recommendation: Wait the complete recommended cure period before applying primer or paint over caulk. If gaps sink after drying, apply a small additional bead and re-smooth it after initial cure. This extra step creates a proper, paintable surface.
Repairing Failed Bathroom Caulk
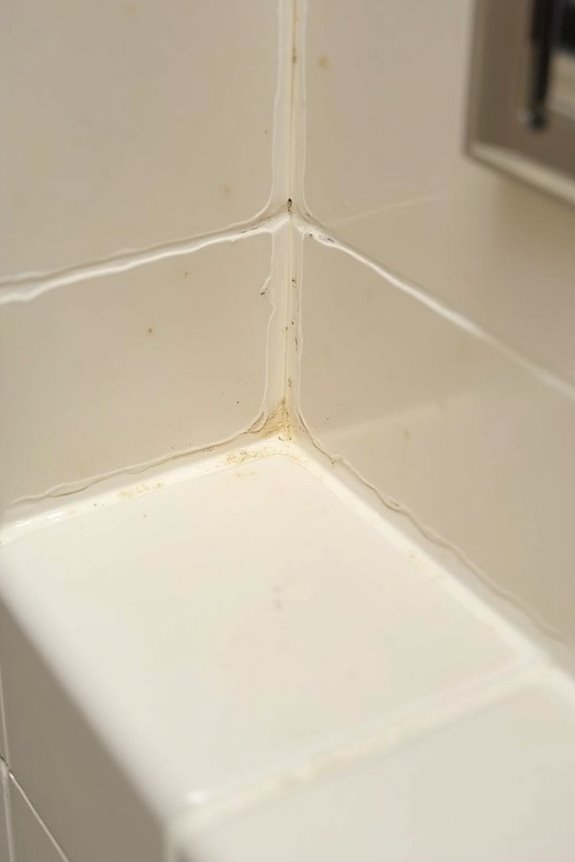
Why does bathroom caulk fail so often? Moisture and temperature fluctuations wear down traditional decorators caulk, leaving gaps that invite water damage. Choosing the right product matters for lasting results.
When your caulk fails, here’s what I recommend:
- Remove old caulk completely using a caulk removal tool or utility knife
- Clean the gap thoroughly with a damp cloth, then let it dry completely
- Choose bathroom silicone sealant instead of decorators caulk for superior moisture resistance
- Apply fresh sealant using a caulking gun, smoothing with a wet finger
Bathroom silicone sealant like MAPESIL SOLVENT-FREE offers durability decorators caulk cannot match. Investing in quality products prevents frustrating repairs down the road.
Silicone vs. Decorators Caulk: Making Your Final Choice
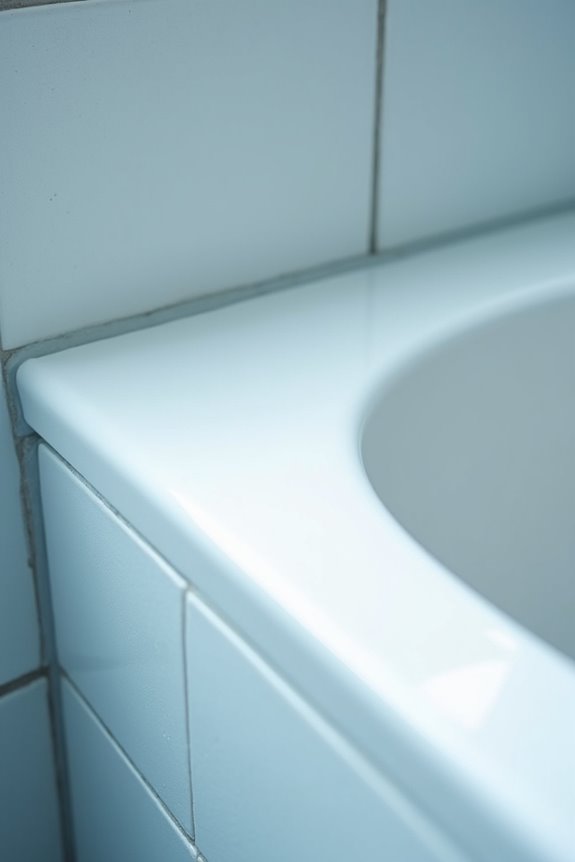
So you’re standing in the bathroom aisle, staring at two products that look almost identical—but they’re definitely not. Here’s what I’ve learned: silicone sealant works better for bathroom gaps around tubs and tiles because it resists moisture and movement far better. Decorators caulk dries faster and paints well, making it tempting, but it’ll eventually fail in humid spaces.
The Real Difference:
- Silicone sealant: Superior water resistance, long-term flexibility, ideal for wet areas
- Decorators caulk: Paintable, faster drying, better for low-moisture interior gaps
Use silicone sealants like MAPESIL SOLVENT-FREE for actual bathroom edges. Save decorators caulk for skirting boards and walls where moisture isn’t a concern. This approach will prevent you from needing to recaulk every year.