
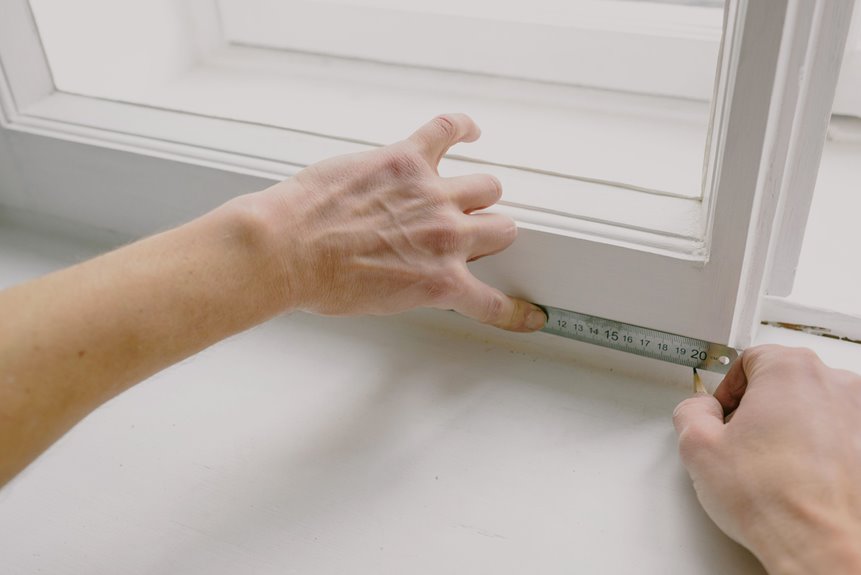
I’ve measured countless windows wrong before mastering this straightforward approach. Start by gathering a metal tape measure and level, then decide between inside or outside mounting—inside keeps clean lines, outside controls light better. Measure your window’s width and height at three points each to catch inconsistencies.
Calculate rod width by adding 6–12 inches on each side for outside mounts. Factor in fullness (1.5x–3x) based on fabric weight, measure rod-to-floor for length, select your heading style, and account for hardware thickness. Finally, verify everything twice before ordering. The specifics behind each step will improve your installation success.
Step 1: Round Up Your Measuring Tools
Step 1: Round Up Your Measuring Tools
How do you measure curtains accurately without the right equipment? I’ve tried without proper tools, and the results are poor. You’ll need a metal measuring tape because it stretches minimally, keeping your measurements accurate. A 25-foot tape works well for larger windows and displays both inches and centimeters.
Metal measuring tapes stretch minimally, keeping your curtain measurements accurate for professional results.
Gather these essentials: a pencil and notepad for recording window width, curtain rod height, and bracket positions. A level is necessary since uneven rods look unprofessional. For tight spaces, masking tape and a metal ruler help mark mounting spots precisely.
A tall stepladder keeps you safe while reaching the curtain rod area. These tools aren’t fancy, but they’re effective. When you’ve got everything assembled, measuring becomes straightforward and builds your confidence.
Step 2: Choose Inside or Outside Mounting
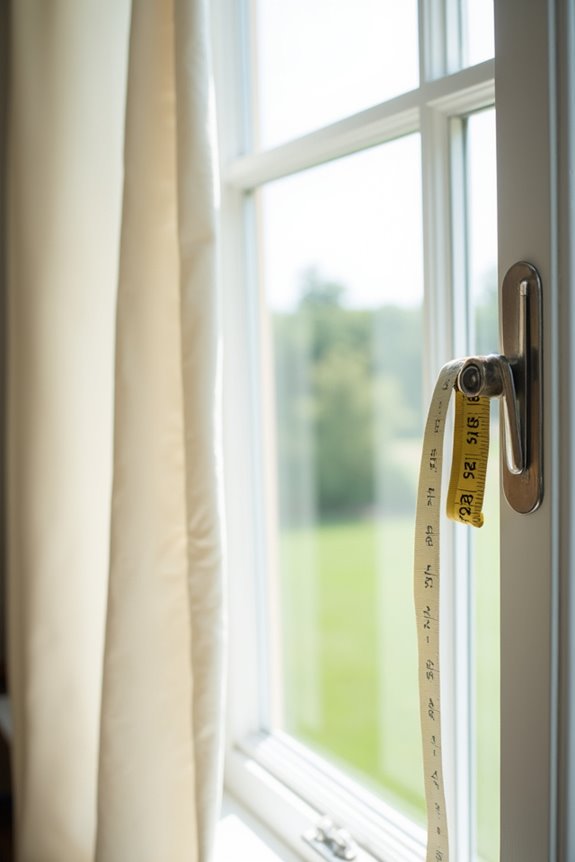
Now that you’ve gathered your tools, it’s time to decide where your curtain rod will actually go. This choice affects everything that follows.
You’ll pick between inside mount and outside mount. Inside mount places your curtain rod length inside the window frame itself, using the window’s actual width. Outside mount extends 6 to 12 inches beyond each side, covering more area and controlling light better.
| Mounting Type | Best For | Installation |
|---|---|---|
| Inside Mount | Small spaces, clean lines | Tension rods or brackets |
| Outside Mount | Light control, larger coverage | Wall-mounted or ceiling-mounted |
| Crown Molding Areas | Architectural integration | Outside mount recommended |
Consider your room’s features. Crown molding or existing architecture might push you toward outside mount. This decision determines your subsequent measurements, so choose your approach before measuring further.
Step 3: Measure Your Window (Height and Width)
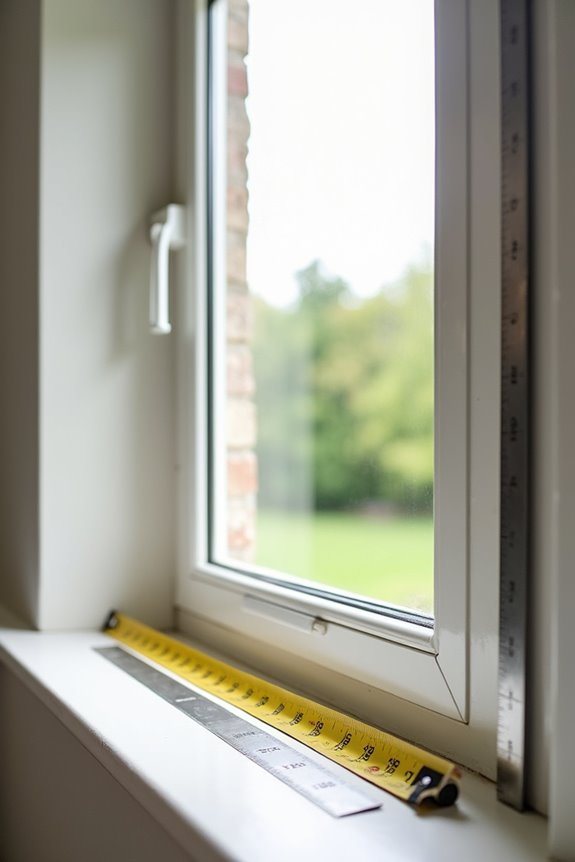
Now that you’ve decided where your curtains’ll hang, it’s time to grab your measuring tape and get precise numbers. I’ll walk you through both inside and outside mount measurements so you can capture the exact dimensions your curtains need. Getting these measurements right is important—they directly determine your rod size, panel width, and how well your curtains’ll actually fit your window.
Inside Mount Measurements
When you’re ready to measure for an inside mount, you’ll want to grab your tape measure and focus on what’s actually inside your window frame—not the outer edges.
Here’s what you’ll need to capture:
- Window width: Measure left-to-right across the inside trim at three points (top, middle, bottom)
- Window height: Measure top-to-bottom along the inside trim at three points (left, center, right)
- Trim reference points: Use inside trim as your anchor, never the exterior casing
- Verification step: Record measurements twice to catch any discrepancies
Your inside mount measurements directly determine your curtain rod sizing, so accuracy matters. When these numbers match your window’s actual interior dimensions, your rod length equals your window width precisely. This approach allows your drapes to fit within the frame with a polished appearance.
Outside Mount Measurements
Ready to measure a bit differently? Outside mounting means your rod sits beyond the window frame itself, which changes how you’ll approach this.
Measure from the outside edges of the trim, capturing the full visible area. Then extend the rod width 6 to 12 inches beyond each side—this prevents light gaps and creates a polished appearance.
For rod length, start with your window width measurement and multiply it by fullness (1.5x to 3x), depending on fabric weight and desired coverage. Thicker fabrics need less fullness; lightweight ones look better with more.
This method gives your panels complete coverage when closed. Getting these measurements right means your curtains will frame your windows properly, just like a professional installation.
Step 4: Calculate Rod Width Based on Mount Type
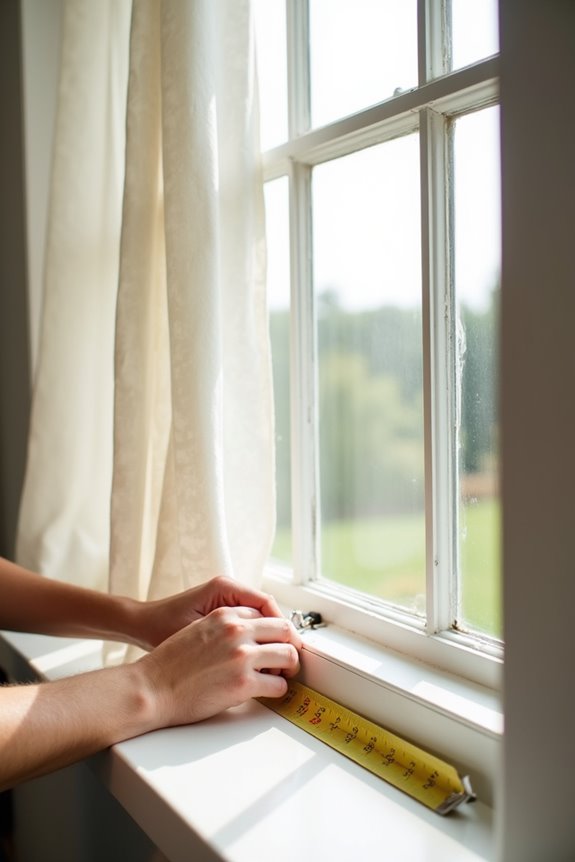
Now that you’ve got your window dimensions, you need to figure out exactly how wide your curtain rod should be. Your choice between inside and outside mounting affects your results: an inside mount fits snugly within your window frame, while an outside mount extends beyond it for better light control and a more spacious appearance. Here’s what you need to know about both options so you can decide what works for your space.
Inside Mount Measurements
How do you know exactly how wide your curtain rod should be? For inside mounts, I measure from the inside edge of the trim on the left to the inside edge on the right. This measurement determines your exact rod length, allowing a flush mount that looks polished.
Here’s what I focus on:
- Measure trim to trim, excluding any casing or molding
- Record the window width in multiple spots for accuracy
- Choose a rod length matching this measurement precisely
- Install so the rod sits flush within the frame
Taking time with these measurements prevents costly mistakes. When your rod aligns perfectly with the window opening, your curtains hang evenly and provide maximum light control. I’ve learned that getting this step right improves how professional your window treatments appear.
Outside Mount Coverage
When you’re mounting your curtain rod outside the window frame, the math changes completely—and understanding this difference affects how your windows look.
For outside mounting, I extend the curtain rod 6 to 12 inches past each side of the window frame. This means adding that total extension to your window width for your rod length. Say you’ve got a 30-inch window; you’re looking at roughly 42 inches for your rod length.
Here’s where fullness enters the picture: I choose curtain panels totaling 1.5 to 3 times your window width. This creates that luxurious drape most people want.
Outside mounting delivers real benefits—better light control and the visual illusion of larger windows. You’re not just hanging curtains; you’re changing how your room functions and appears.
Step 5: Understand Fullness and Panel Width
Why does fullness matter when you’re picking out curtains? It directly affects how your window treatments look when hung.
Fullness refers to how much extra fabric you need beyond your rod length. Here’s what you should know:
- Pleated headers need 1.6x to 2x fullness for standard pleats, or 2x to 3x for triple pleats
- Soft Top and Grommet headings require 100–200% fullness for a gathered appearance
- Calculate per-panel width by dividing your rod length by panel count, then multiplying by your chosen fullness ratio
- Add about 20 inches total to your rod measurement for balanced results
When you understand these relationships between fullness and panel width, measuring curtain panels becomes straightforward. You’ll be able to create a balanced, professional appearance with confidence.
Step 6: Decide Your Curtain Length (Sill, Floor, or Puddle)
Once you’ve nailed down your panel width and fullness, there’s one more critical choice for your window’s appearance: how long you want your curtains to be.
Choosing your curtain end point matters. You’ll measure from rod to your desired end point, adjusting based on which style fits your space.
Sill length curtains hang just above the windowsill, creating a casual vibe perfect for kitchens and bathrooms. Floor length offers elegance—they should touch the floor or end about 0.4 inches above it for a clean silhouette.
Want something dramatic? Puddle length adds 3 to 6 inches of fabric pooling on the floor, giving your room sophistication.
Step 7: Measure From Rod to Hem
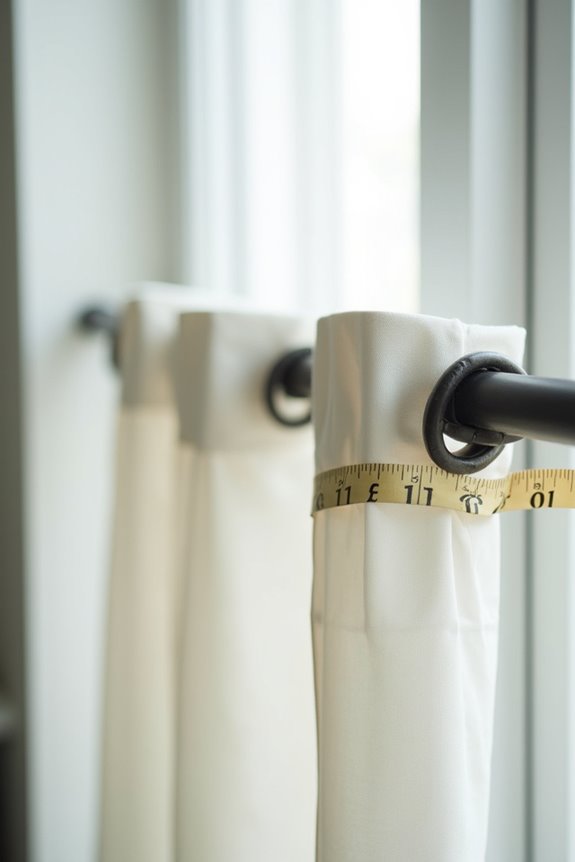
Now that you’ve chosen your curtain length style, I need to help you get the actual measurement right—because honestly, this is where most people mess up. You’ll measure straight down from the top of your curtain rod to where you want the hem to land, then adjust that number based on whether you’re going for a crisp floor length or a romantic puddle effect. The key is taking this measurement carefully, since even a quarter-inch difference can change how your curtains look in the room.
Rod To Floor Measurement
How you measure from your curtain rod to your desired hem length determines whether your curtains’ll look intentional or accidentally short. I’ve learned that starting from the rod itself—regardless of mounting type—gives you the truest measurement starting point for your project.
Here’s what I consider when measuring:
- Floor-length results: Extend from rod to floor, then subtract about 0.4 inches for that polished touch-and-drape effect
- Break length: Add 1 to 2 inches to floor measurement so the hem gently kisses the floor
- Puddle length: Add 3 to 6 inches beyond break length for dramatic fabric pooling
- Your aesthetic goals: Match your final rod length measurement to your room’s style
This rod to floor measurement becomes your curtain length foundation, keeping hem placement aligned with your vision.
Length Type Adjustments
Have you ever noticed how the same curtain length can look completely different depending on whether it just grazes the floor or pools dramatically across it?
I’ve learned that choosing your desired end point impacts your curtain measurements. You’ll find three main options:
Float Length: Measure from rod to floor, then subtract 1/2 to 1/4 inch for that tailored, crisp appearance.
Break Length: Add 1 to 2 inches to your float length so curtains gently “kiss” the floor—my personal favorite for balanced sophistication.
Puddle Length: Add 3 to 6 inches to create luxurious fabric pooling. It’s dramatic, yes, but visually striking in formal spaces.
Your curtain length choice should align with your room’s style and desired visual weight. Whether you’re aiming for practical elegance or bold drama, these adjustments help your curtains hang exactly as intended.
Precise Measurement Techniques
Once you’ve decided whether you want your curtains to float, break, or puddle, it’s time to grab your measuring tape and get precise. I’ll walk you through the rod-to-floor measurement process that delivers accurate results.
Start your measurement at the top of the curtain rod—this is your essential measurement start point. From there, extend your tape down to your desired finished length. Here’s what works best:
- Float length: Measure to the floor, then subtract ¼ to ½ inch for a tailored, clean appearance
- Break length: Add 1 to 2 inches to kiss the floor gracefully
- Puddle length: Add 3 to 6 inches for luxurious pooling
- Mounting surface adjustments: Always account for your specific rod position
Your curtain length determines how professionally your windows look.
Step 8: Pick Your Heading Style
Your curtain’s heading—that’s the top part where it attaches to the rod or track—affects how your window treatment looks and functions. Understanding your options helps you decide.
| Heading Style | Best For |
|---|---|
| Soft Top (Rod pocket, Tab top) | Casual, relaxed looks |
| Pleated headings (Pinch, Tailor) | Modern, structured appearance |
| Grommet | Straight rods, contemporary style |
| Back tab | Clean, minimalist designs |
| Goblet | Elegant, formal spaces |
Your curtain heading style directly impacts fullness guidelines and how smoothly your panels move. Pleated headings offer structured sophistication, while grommet options work well on contemporary rods. Consider your window type and personal taste. Check design resources available to match your heading choice to your home’s style and your lifestyle needs.
Step 9: Account for Hardware and Stack Space
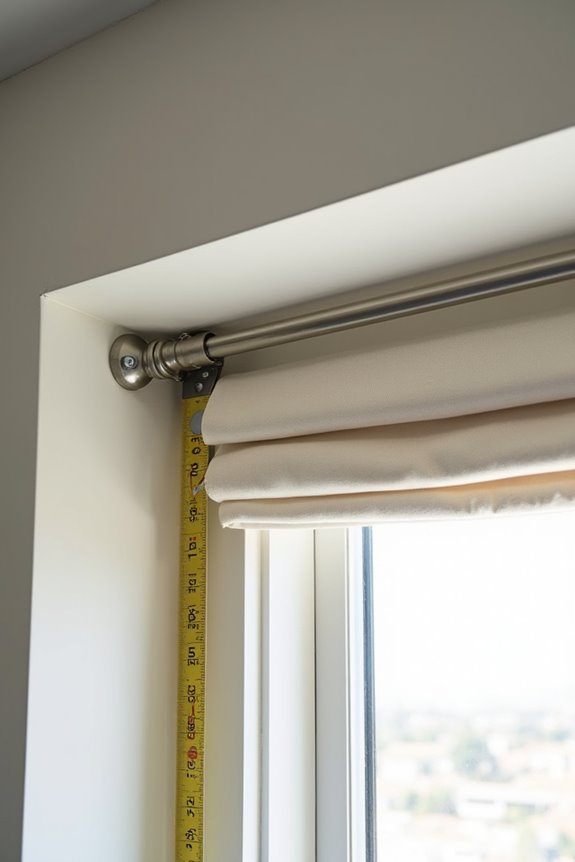
How much space do your curtain panels actually need when they’re pulled open? This is where hardware thickness and mounting measurements become important. Planning ahead prevents installation surprises.
Consider these essentials when calculating your curtain rod length and stack space:
- Outside mount extends 6–12 inches beyond each window side for complete coverage and light control
- Hardware thickness matters—brackets and rods add 1–2 inches to your total measurement
- Panel width depends on quantity—dividing total rod length by panel count shows how much space each panel occupies when stacked
- Ceiling mounts need extra projection room to avoid furniture interference
I always use a level during mounting to keep everything straight. When you account for hardware thickness upfront, you’ll nail your measurements and achieve that polished, professional look you’re after.
Step 10: Verify All Measurements Before Ordering

Before you hit that “order” button, I take a deep breath and run through every single measurement I’ve gathered—because one mistake here can mean ordering curtains that don’t fit, and returns are a hassle nobody wants.
I verify my curtain measurements against three critical checkpoints: rod length, curtain width using my fullness multiplier, and panel quantity. Here’s my verification checklist:
| Measurement Type | Inside Mount | Outside Mount |
|---|---|---|
| Rod Length | Window width | Window width + 12–24 inches |
| Fullness Multiplier | 1.5x–3x | 1.5x–3x |
| Height Adjustment | Top of rod to endpoint | Add break or puddle inches |
I reconfirm whether I’m doing an inside vs outside mount, since each requires different calculations. Finally, I cross-check my height placement—typically 6–10 inches above the frame—against my masking tape marks. This final verification prevents costly ordering mistakes.