
Hanging curtains like a pro means following a formula: mount your rod 10–12 inches above the window frame and extend it 6–12 inches beyond each side for that tall, dramatic look. You’ll want 1.5 to 3 times your window width in total fabric for rich folds. Choose 96-inch panels that kiss the floor, then measure carefully, mark bracket placements with a level, and secure everything with proper anchors. Get the specifics right, and your space will look noticeably different.
Understand the Hanging Formula: High, Wide, Kiss the Floor
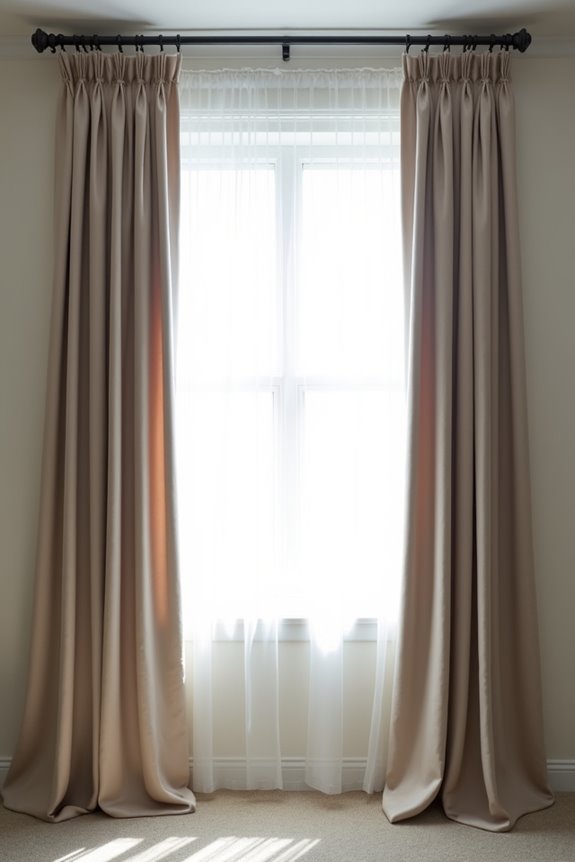
Why do some curtains look good while others just hang there looking flat and ordinary? It comes down to the hanging formula: go high and wide with your curtain rod placement and length.
Here’s what works. Mount your curtain rod 10–12 inches above the window frame to make your room feel taller. Extend the rod 6–12 inches beyond the window on each side, creating that high and wide silhouette. For curtain length, aim for 96-inch panels that kiss the floor—not puddle, just kiss it.
Don’t skimp on fullness either. You’ll want 1.5 to 3 times your window width in total panel fabric for those rich, dramatic folds. This formula works.
Measure Your Window and Choose Rod Placement
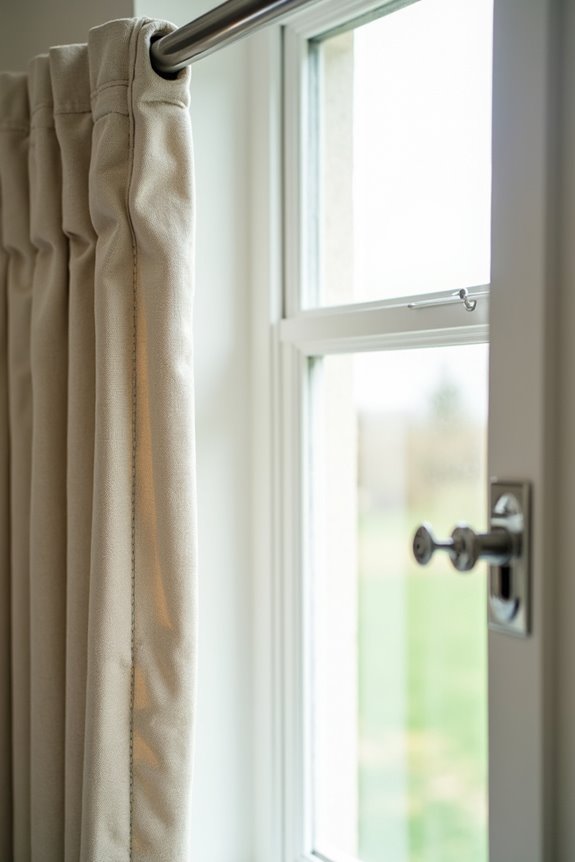
Now that you’ve got the formula down, it’s time to actually measure your space and figure out where that rod’s going to live. I always measure twice—seriously, it saves headaches later. First, I determine my window width, then I calculate curtain fullness by planning for panels that are 2–2.5 times wider. This gives you those flowing folds you’re looking for.
Next comes curtain rod placement. I mount the rod 4–6 inches above the window frame and extend it 6–12 inches beyond the window frame on each side. For a typical 50-inch window, I aim for a 56–62-inch rod length.
Here’s where precision matters: I mark bracket placement with a level and pencil before drilling. For heavier fabrics, I consider a middle bracket to prevent bowing. Getting rod height and level installation right makes a real difference.
Select Curtain Length Based on Ceiling Height
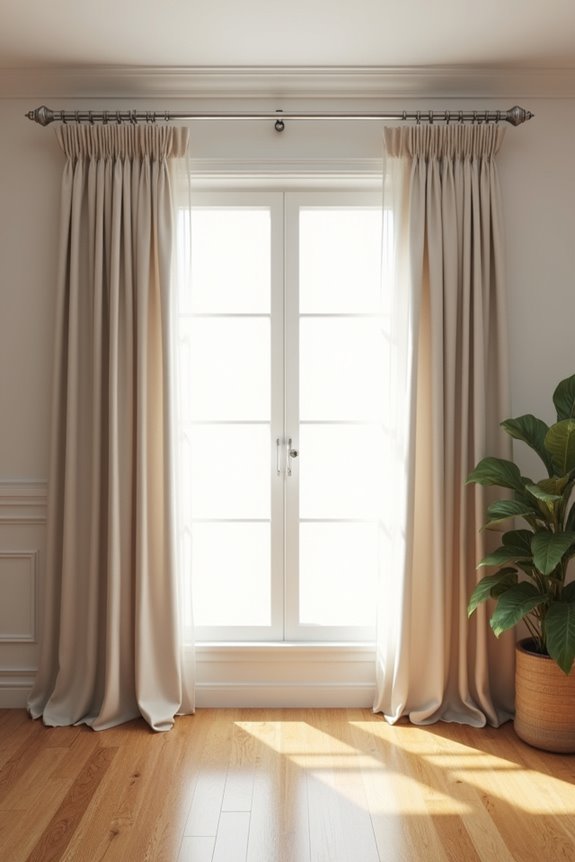
How tall are your ceilings? This single question determines whether your curtains’ll look polished or plain. I’ve learned that ceiling height directly impacts your window treatment’s success, and getting the proper length improves any room.
| Ceiling Height | Recommended Length | Goal | Rod Position | Result |
|---|---|---|---|---|
| 8 feet | 96-inch curtains | Floor kiss | High placement | Designer look |
| 9-10 feet | 108-inch curtains | Grazing hem | Extra high | Luxurious feel |
| 10+ feet | Custom panels | Professional proportion | Maximum height | High-end proportion |
For standard 8-foot ceilings, I’d choose 96-inch long curtains. They’ll create that coveted floor kiss—where fabric just touches the floor. With taller ceilings, don’t settle for short curtains; 108-inch options maintain proportion and avoid stubby appearances. Hang your rod high and wide. This strategic rod height provides adequate curtain hem length, creating the tall, elegant silhouette that separates amateur from professional results. Your curtain length matters more than you’d think.
Calculate Panel Width and Fullness
Getting your panel width right separates curtains that look thin and disappointing from ones that drape beautifully. Achieving proper panel fullness requires multiplying your window width by 2 to 2.5 times for standard curtains. This means your total curtain width should generously exceed your actual window coverage.
My approach: measure your window width, then calculate accordingly. For most windows, hang one panel per side, with each panel matching the window width. Sheer curtains demand extra consideration—go up to triple the window width for that gathered effect.
This fullness guideline allows your curtain panels to draw completely open without looking skimpy when closed. The panel count and proper light control depend entirely on getting this calculation right. The hanging success you’ll achieve makes the math worthwhile.
Install Brackets and Hang Panels for Final Adjustment
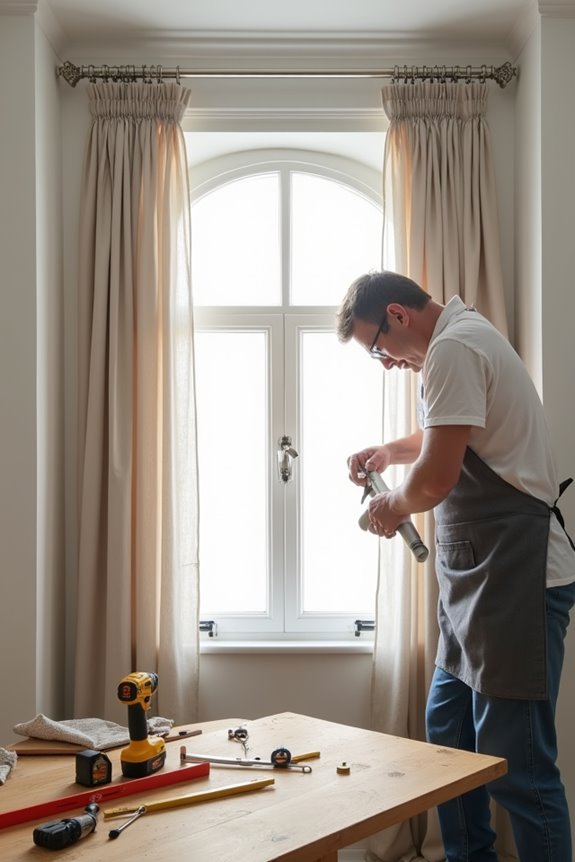
Once you’ve calculated your panel width and gathered your materials, you’re ready to mount the brackets and hang your panels. I position my curtain brackets 4–6 inches above the window frame, drawing a level line to keep them straight. Next, I check my wall type—studs or wall anchors—then drill pilot holes before inserting anchors flush with the wall. After securing the brackets, I thread my curtain panels onto the hang rod, attaching rings or clips as needed. I space panels evenly, then lift the rod into position. Before finishing, I verify the curtain rod installation is level, adjusting as necessary to prevent uneven panels. Finally, I fluff pleats and test opening and closing motions, confirming smooth operation and even fullness throughout. These final adjustments complete your window installation.